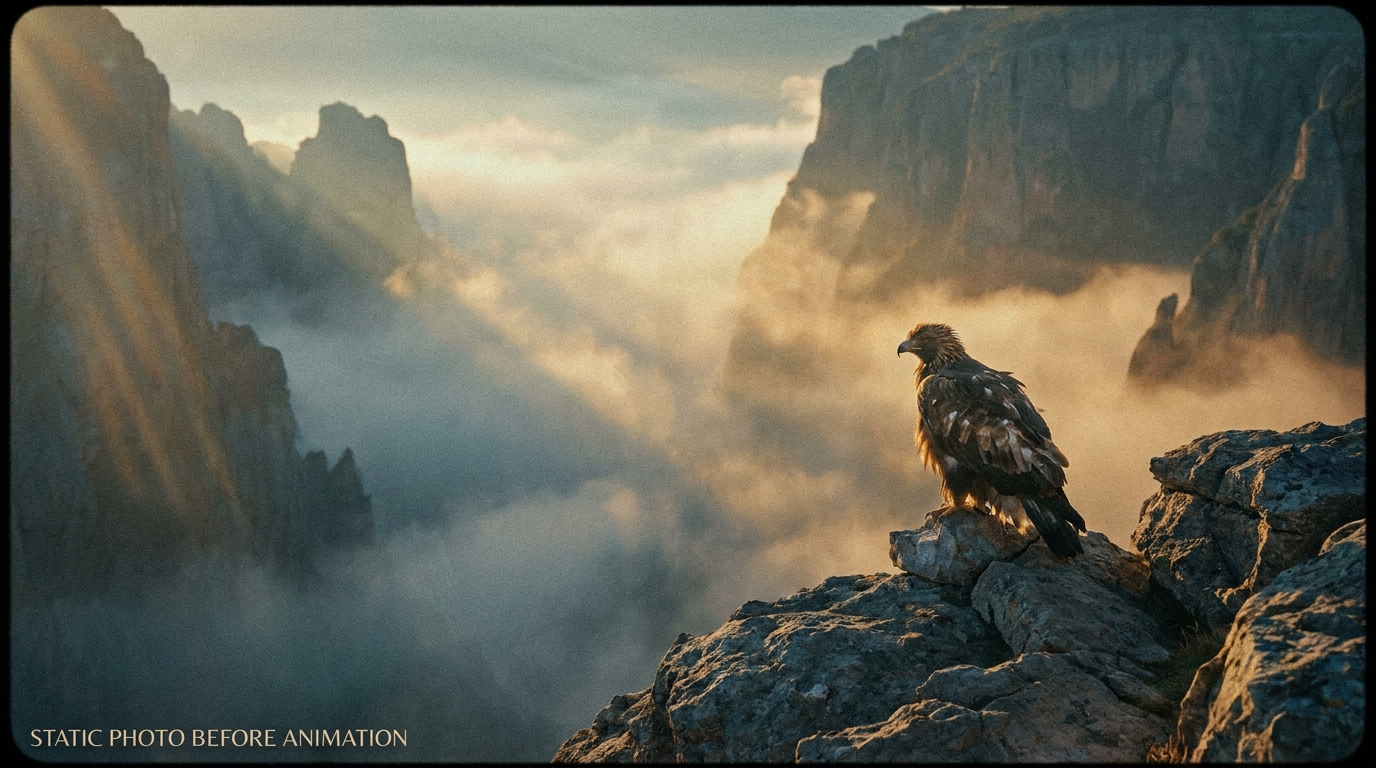
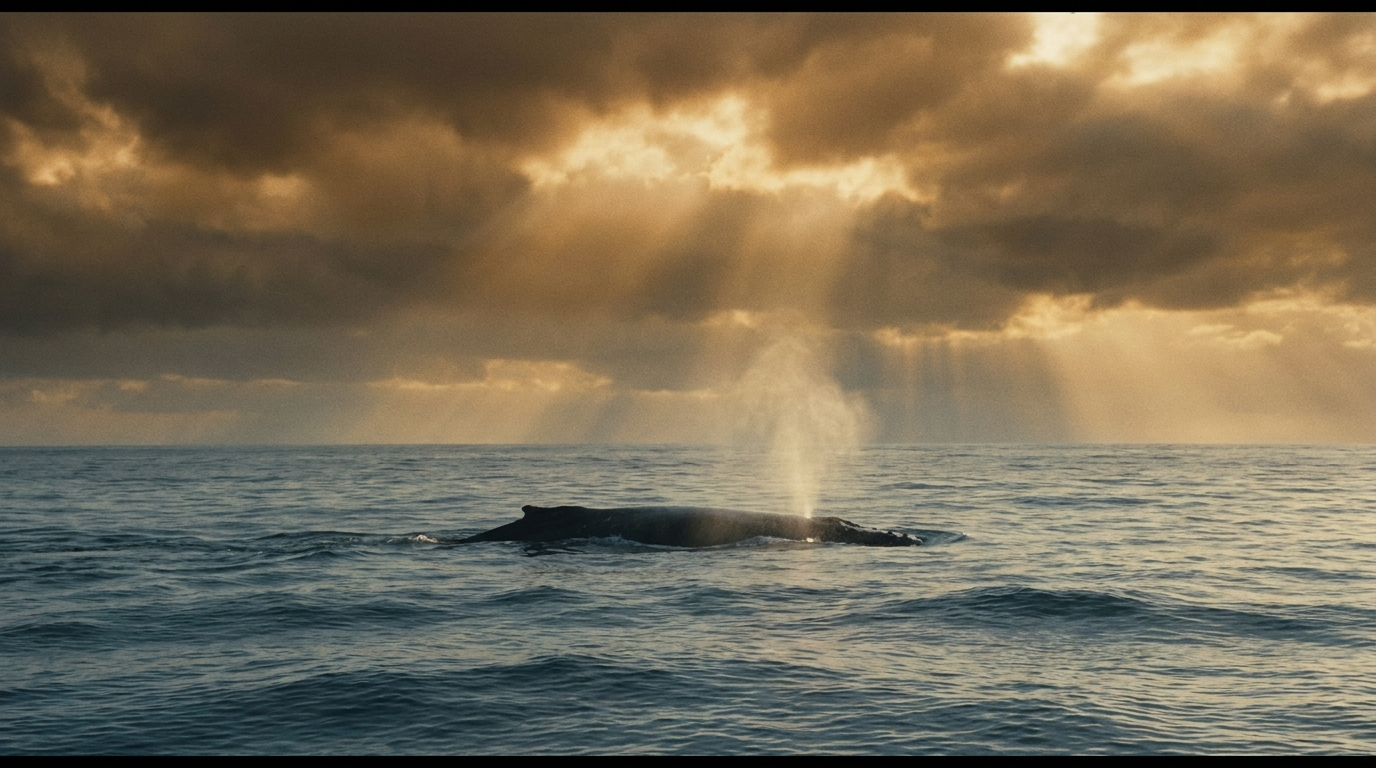
Start and end frame control
What Is First and Last Frame to Video?
First and last frame to video is an AI video generation workflow that begins with two visual anchors. The first image defines how the shot opens, while the last image defines the visual destination. Instead of asking a model to invent the entire clip from a prompt alone, you provide clear boundaries for the beginning and ending. The AI generates the intermediate movement, camera behavior, and visual changes that connect those two states. This makes the workflow useful whenever the ending composition matters as much as the opening frame.
A first and last frame to video generator does more than dissolve one picture into another. It analyzes the subjects, layout, lighting, color, and scene relationships in both images, then creates new video frames between them. Your motion prompt tells the model what should happen during that journey. You can describe a camera push, a character action, an object transformation, a change in weather, or a controlled reveal. The two uploaded frames provide visual guidance, while the prompt provides temporal direction.
The strongest results usually come from frames that share a recognizable subject or a plausible visual relationship. A product can rotate from a front view to a hero angle, a person can move from one pose to another, or a quiet landscape can transition from daylight to dusk. More dramatic changes are possible, but they need a clear prompt that explains the intended sequence. Framov keeps both image inputs visible, lets you choose the output ratio and duration, and shows the generation cost before the request is submitted.
Step-by-step workflow
How to Make a First and Last Frame Video
Use this four-step process to keep the opening, motion, and ending aligned. Each setting has a specific role, so you can revise one part of the shot without rebuilding the whole idea.
- 01
Upload the first frame
Choose the exact image that should establish the opening composition. It should clearly show the subject, environment, camera angle, and visual style you want the clip to inherit. A clean, high-resolution source gives the model more useful detail than a heavily compressed screenshot.
- 02
Upload the last frame
Add the image that represents the intended final state. Check that its aspect ratio and subject scale are reasonably compatible with the opening frame. The images do not need to be identical, but the model should be able to infer a believable path from one to the other.
- 03
Describe the motion between frames
Write what changes over time rather than repeating what is already visible. Name the subject action, camera direction, pacing, atmosphere, and desired continuity. For example, ask the camera to orbit slowly as the product turns toward the final angle and reflections move across its surface.
- 04
Choose settings and generate
Select a landscape, portrait, or square ratio and choose the clip duration. Review the displayed credit cost, then generate the video. Framov uploads both frames in order, creates the task, tracks its progress, and returns a playable result when processing finishes.
Practical applications
When Start and End Frame Control Is Useful
The defining benefit is not simply using two images. It is controlling where a generated shot starts and where it should arrive. These are practical situations where that control changes the quality of the result.
Product transformations
Start with a closed, neutral, or unassembled product and end with the finished hero view. The model can create the opening, unfolding, assembly, or material transformation between the supplied states.
Character movement
Guide a person or illustrated character from one pose, expression, or position to another. Keeping clothing, facial features, and framing similar helps preserve identity while the body movement is generated.
Camera reveals
Use the first frame for a wide or obscured view and the last frame for the reveal. A prompt can specify a dolly move, orbit, crane shot, rack focus, or foreground wipe that reaches the final composition.
Before and after sequences
Show a room renovation, design revision, makeup change, seasonal shift, or restoration. The two frames establish the comparison, while generated motion makes the change feel like a continuous event rather than a slideshow.
Brand and campaign transitions
Connect two approved key visuals without giving up their art direction. This is useful for short ads, social posts, title sequences, and campaign cutdowns where the opening and closing images are already decided.
Loop planning
Create a clip whose end can lead into a second shot or return toward the opening. Deliberate boundary frames make it easier to design sequences that edit cleanly and maintain visual rhythm across a campaign.
How to Get Smoother Motion Between the First and Last Frame
Visual compatibility matters more than making both images look identical. Keep the main subject recognizable, avoid extreme changes in scale unless the prompt explains a rapid camera move, and try to preserve a coherent light direction. If the first frame is a close portrait and the last frame is a distant aerial view, describe the pullback and environmental reveal explicitly. Without that information, the model must guess how the camera and subject reached the final state.
Prompt order should follow video order. Begin with the main action, then describe camera movement, secondary motion, pacing, and the ending behavior. A useful structure is: subject action, camera action, environmental response, continuity requirement, and final pose. Phrases such as "maintain the same character," "continuous shot," "slow controlled movement," or "end in the supplied composition" can clarify your intent without overloading the prompt.
Duration affects how much change can happen naturally. A small facial movement or product turn can work in a short clip, while a scene transformation may need more time. If a result feels rushed, increase the duration or simplify the motion. If it feels static, make the action more specific rather than adding unrelated adjectives. Generate a focused draft first, review where continuity breaks, and revise the one instruction responsible for that moment.
Practical examples
First and Last Frame Prompt Examples
Use these examples as structures, not fixed formulas. Replace the subject, camera direction, and environmental details with information that is visible in your own frames.
The camera makes a slow clockwise orbit around the product while soft reflections travel across the metal surface, ending precisely at the supplied rear three-quarter view.
The character takes two natural steps forward, turns toward the window, and raises her hand as the camera gently pushes in, preserving her face, clothing, and the room layout.
Clouds gather gradually above the valley, wind moves through the grass, and warm daylight shifts into a cool storm atmosphere while the camera remains locked.
The empty studio transforms into the completed interior through a continuous build sequence, with furniture assembling from the floor and the final camera position matching the last frame.
The package opens smoothly, the inner product rises into view, and the camera tilts upward into the final hero composition with controlled commercial lighting.
A paper sketch gains color, depth, and realistic material detail as the camera moves closer, ending on the finished object shown in the final frame.
First and Last Frame to Video vs. Other AI Video Workflows
Use first and last frame to video when both boundaries of the shot are important. Use image to video when you have only one source image and are comfortable letting the model decide how the clip develops. Use text to video when no fixed visual source exists and the scene can be created entirely from a written description. These workflows are related, but they solve different control problems.
Two frames to video is the closest alternative, yet its creative intent can be broader. A two-image transition may focus on inventing an interesting change between unrelated pictures. First and last frame generation treats the images as explicit opening and ending states. If your priority is a precise final composition, stay on this page. If the transition itself is the concept and the images can change more freely, the two-frame workflow may be a better fit.
Continue with two frames to video, image to video or video frame extractor when that workflow better matches the source material and level of control you need.
Best Practices for Reliable Results
Match orientation
Use two landscape images for landscape video or two portrait images for vertical video. Mixed orientations force the model to crop, extend, or reinterpret one frame.
Protect subject identity
Keep distinctive faces, products, logos, and clothing visible in both frames. Mention important identity details in the prompt when consistency is essential.
Limit competing actions
One primary action and one camera move are easier to control than a long list of simultaneous events. Add complexity only after the basic transition works.
Design the final moment
Describe how motion settles into the last frame. Words such as pauses, comes to rest, centers, or holds can prevent the clip from rushing past the intended ending.
Questions and answers
First and Last Frame to Video FAQ
What is first and last frame to video?+
First and last frame to video is an AI generation method that uses one image as the opening state and another image as the intended ending state. The model generates the intermediate video frames, while your prompt describes the subject movement, camera behavior, pacing, and visual changes that should connect the two uploaded images. See every available frame to video workflow on the main frame to video generator.
How do I create a video between a first and last frame?+
Upload the opening image first and the ending image second. Describe what should happen between them, select the aspect ratio and duration, review the credit cost, and start generation. The clearest prompts explain the main action and camera movement in chronological order instead of only describing the appearance of each image.
Can I control both the start and end of the generated video?+
The two images act as strong visual guides for the beginning and ending of the clip. AI generation is probabilistic, so every pixel is not guaranteed to match, but compatible source images and a clear continuity prompt give the model a much better target than a single-image workflow.
What images work best as first and last frames?+
Use clear images with a recognizable shared subject, compatible orientation, similar visual quality, and a change that can plausibly happen within the selected duration. Avoid severe crops, tiny subjects, conflicting light directions, or unrelated scenes unless the dramatic transformation is intentional and carefully explained. If your footage already exists, pull the opening and closing moments with the video frame extractor to build your boundary frames.
Do the first and last frame need the same aspect ratio?+
Matching aspect ratios are strongly recommended because they reduce unexpected cropping and composition changes. If the files differ, decide which output format matters most and crop both images toward that format before generation. Landscape, portrait, and square outputs each frame the subject differently.
How long should a first and last frame video be?+
Choose a shorter duration for subtle pose changes, facial movement, or a simple product rotation. Choose a longer duration when the camera travels, the environment transforms, or several connected actions must happen. If the motion looks rushed, simplify the prompt or give the transition more time.
Why does the result not exactly match my final frame?+
Large changes in subject scale, camera angle, lighting, or scene layout can make the final target harder to reach. Improve compatibility between the source frames, state the camera path explicitly, reduce competing actions, and tell the motion to settle into the supplied ending composition. A second generation may also interpret the transition differently.
Is first and last frame to video the same as image to video?+
No. Image to video normally animates one source image and leaves the ending open. First and last frame to video supplies two boundary images, so it is better for planned reveals, before-and-after changes, product shots, character movement, and any sequence where the final composition is part of the creative brief.
Create a Controlled Video From Your First and Last Frame
Upload the opening and ending images, describe one clear path between them, and generate a video with visible settings and cost. Start with a simple movement, evaluate continuity, then refine the prompt for the final shot.
Open Tool